Knowledge Base
Chatvision provides a convenient way to implement the transfer of offline conversions to the analytics system:
- Facebook
- Yandex
- Google,
and also connect and configure the AI assistant's communication to your messenger of choice:
- WhatsApp
- Telegram
Communicate directly from your CRM system interface
- Register in Chatvision.tech service
- Add your site
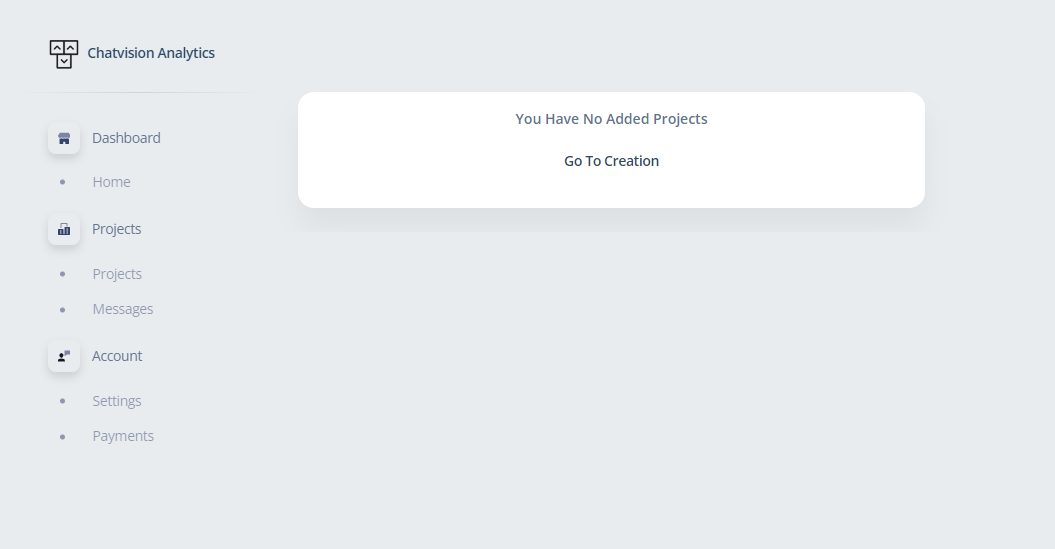
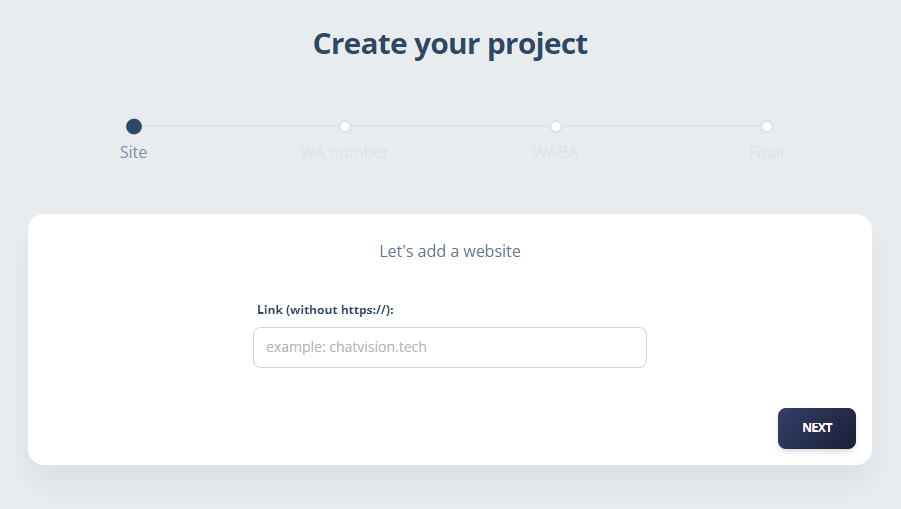
- Enter the WhatsApp number that will be used on the site
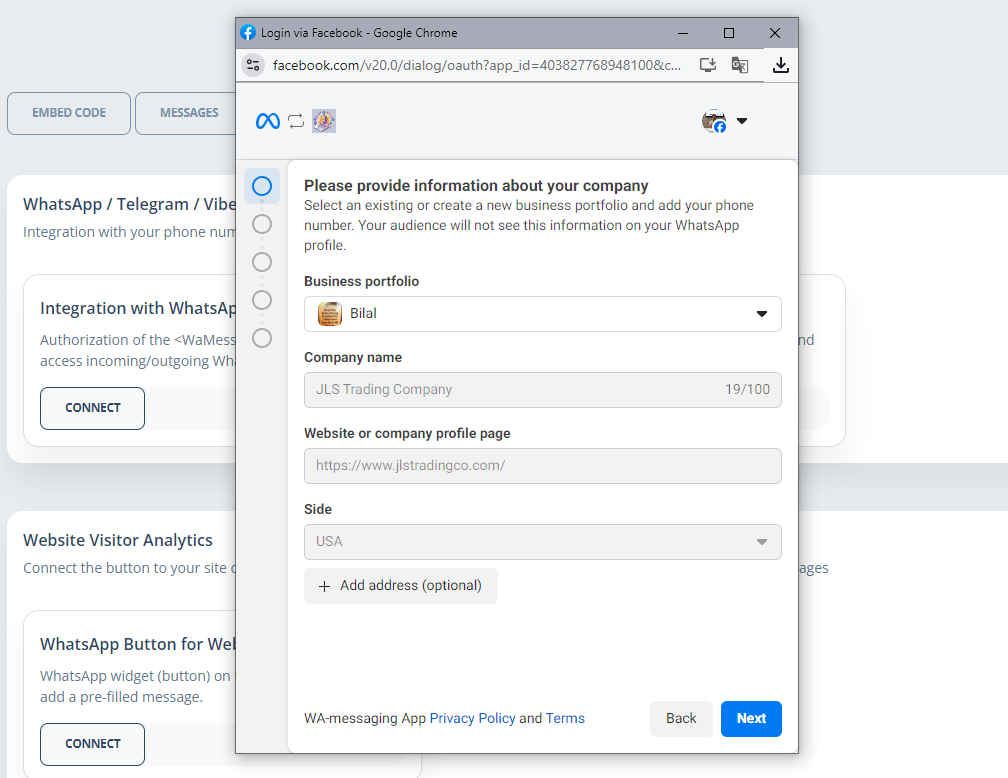
- Connect our Facebook app to WhatsApp Business API by clicking on the "Grant Access" button
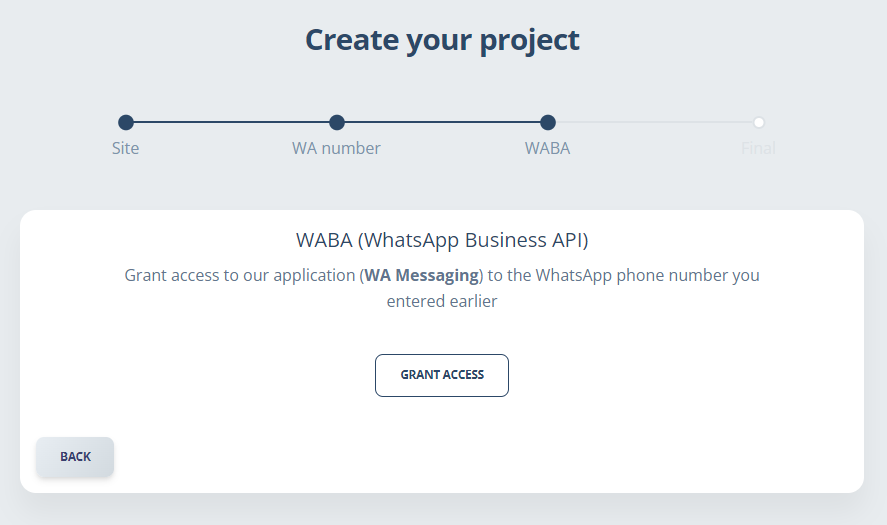
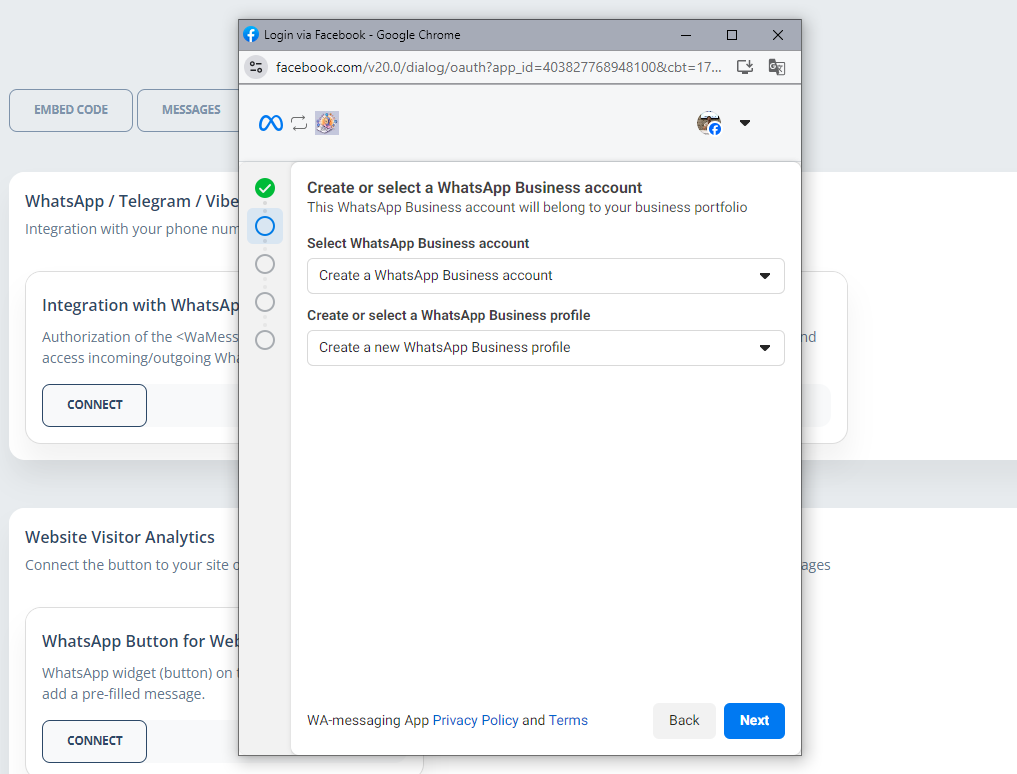
- In the Facebook pop-up window, confirm access to an existing WhatsApp number or go through the process of registering a new number
- After granting access to the application, your resource will be created and ready for further work.
- Place JavaScript code on your website
- In the Login dialog box using your Facebook account
- Grant access to your Business Manager
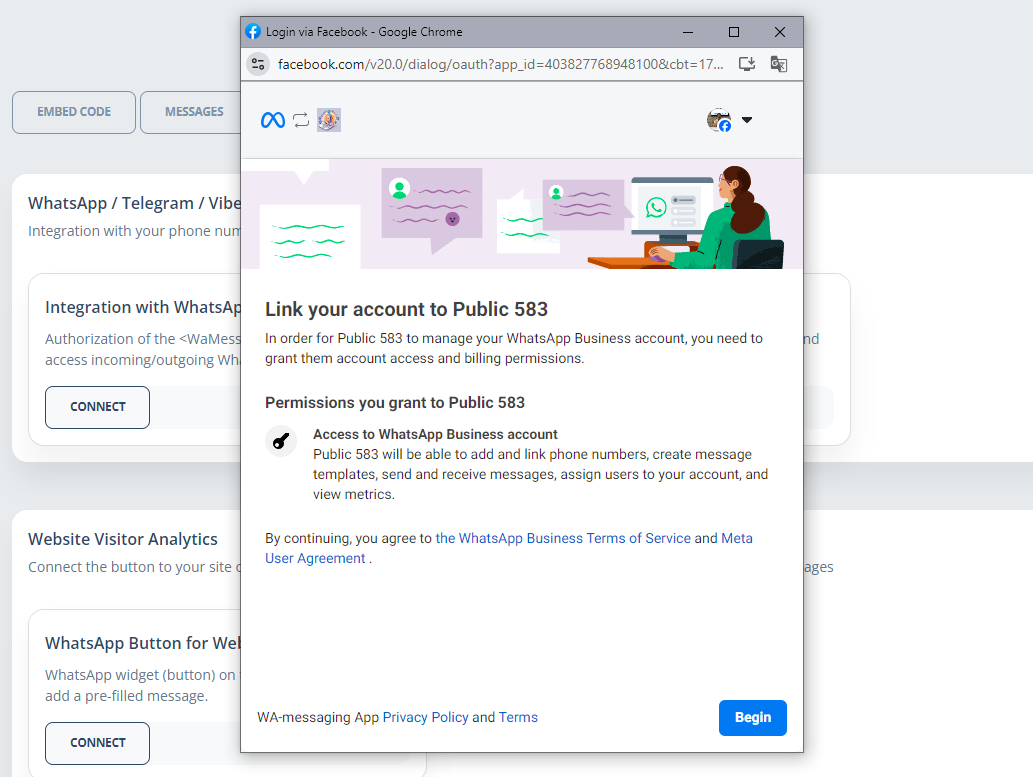
- Select an existing Business Manager or create a new one
- Select a WhatsApp account or go through the process of registering a new number
Chatvision provides the ability to provide communication of your website (messenger) visitors to an AI assistant.
For correct operation, please specify your OpenAI API token (https://platform.openai.com/api-keys) in the corresponding section of the Chatvision settings
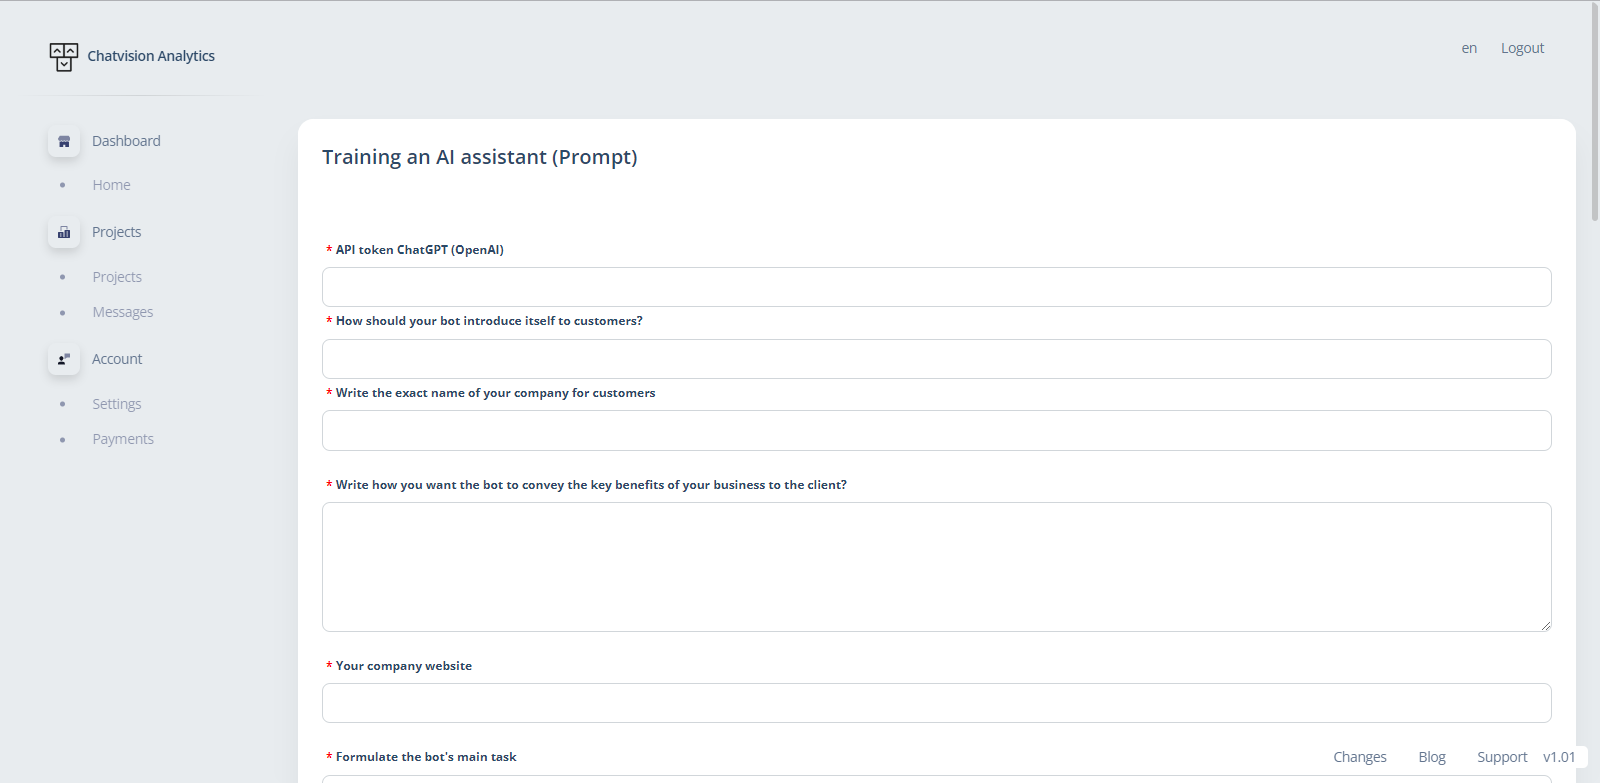
- Train your assistant by filling in the fields. Provide as much detailed information as possible about your company, what you do, and don't forget to upload files to train your assistant. This could be:
- textual breakdown of communication between manager and client
- A price file containing prices for your goods or services
- Webinar recordings
Chatvision can connect to your Kommo and transfer the entire history of communication of visitors.
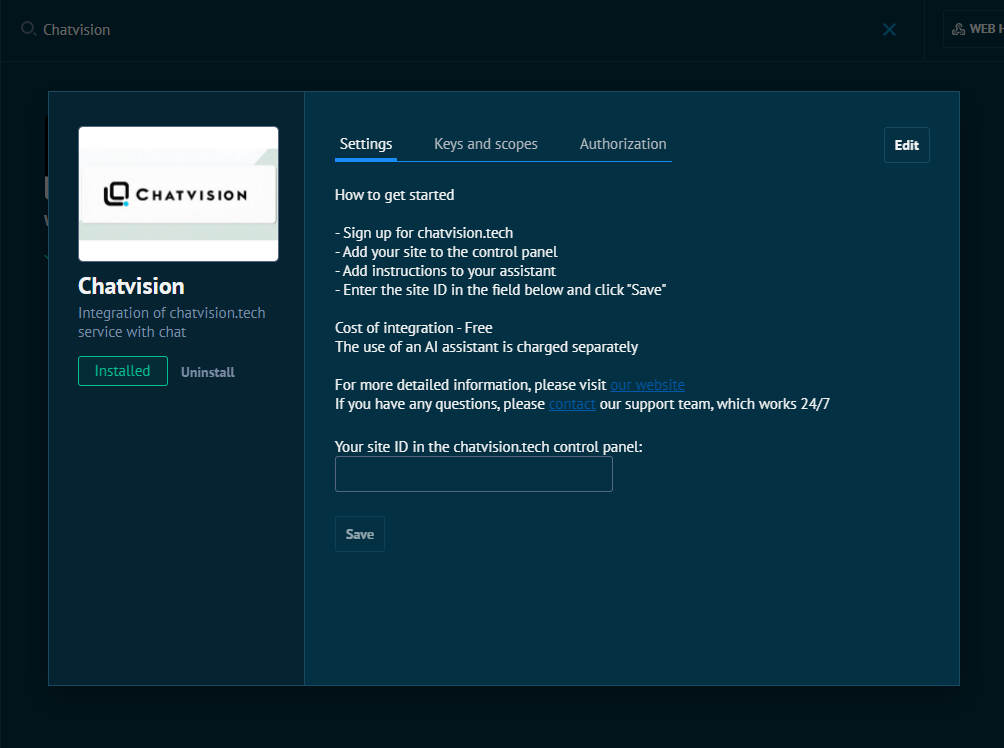
To do this, you need to install the integration from the "Settings->Integrations" section
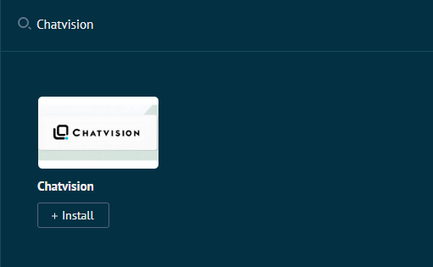
- After installation, you will need to enter the site ID previously added to the Chatvision control panel
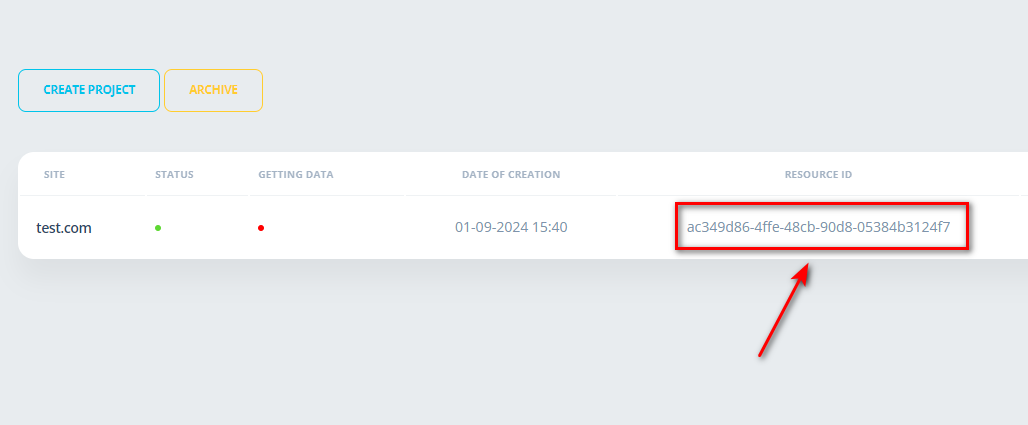
- Go to Site Settings in your Chatvision Dashboard
- Scroll to the "Connect to CRM" section
- Click on the "Kommo" button
- Select the required account and click "Allow"
After successful connection, you will see a notification that the integration has been successfully installed.